



To configure EAP-TLS authentication with NPS I am going to build on a previous post of mine. The process is much the same as before, but with a few changes which I am going to cover in this article.
The setup of NPS and RADIUS is the same as my previous post, so see here for more details. However, the method used for authentication is slightly different. This method is primarily for corporate managed devices, mainly Windows 10/11 devices managed via an MDM or Group Policy.
Having done some research there are some conflicting opinions on what is required. But these 3 Microsoft Learn articles were worth a read:
Manage Certificates Used with NPS
Configure Certificate Templates for PEAP and EAP requirements
Certificate requirements when you use EAP-TLS or PEAP with EAP-TLS
And these additional posts and video guides (hats off you to guys) did help fill in the blanks:
Securing RADIUS with EAP-TLS [Windows Server 2019]
Configuring RADIUS authentication using EAP-TLS in Windows NPS: Part 4
PEAP-EAP-TLS vs. EAP-TLS
Windows Server Group Policy Creation for PEAP EAP-TLS
There are two very similar ways of settings this up, straight up EAP-TLS or PEAP EAP-TLS. One of the articles above covers the difference, but as my NPS is already setup with PEAP EAP-MSCHAP v2 I chose PEAP EAP-TLS.
NPS Certificate
If you haven’t done so already you will need a certificate for your NPS. I created a custom certificate template in our Enterprise PKI by duplicating the built in ‘RAS and IAS Server‘ template. And Under the ‘Subject Name‘ tab I changed the option to ‘Supply in the request‘.

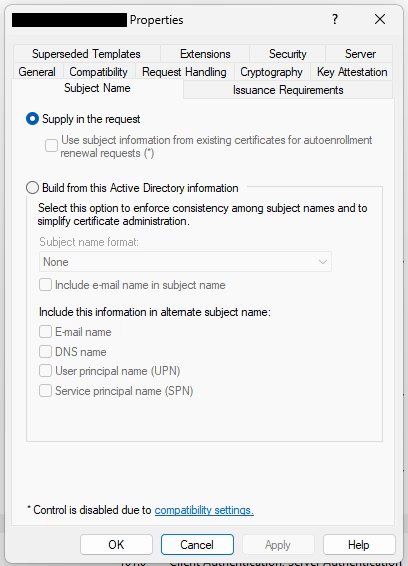
You can use the default settings but I chose this method as it lets you choose a custom DNS name for your NPS server when you request the certificate. If you leave the defaults, when the server requests the certificate, the subject name of the certificate will be the hostname of the server. I prefer something more generic, such as nps.example.com. This way the hostname of your NPS isn’t presented to all clients and the certificate can be exported and used again if you ever need to move/rebuild the NPS. This also means that client side devices shouldn’t notice the backend change.
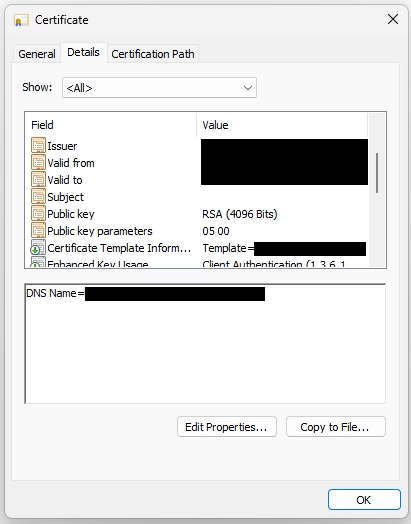
When requesting the NPS certificate I also didn’t populate the ‘Subject field‘, just the ‘Subject alternative name‘. According to Microsoft Learn and in some of the guides, it states this field needs to be populated. However, I have found it works either way, this is the NPS certificate I generated with no ‘Subject‘ name. It only contains a custom DNS name in the SAN field e.g. nps.example.com.

NPS Configuration
Next we are going to open ‘Network Policy Server‘ on our server, navigate to Policies > Network Policies. Right click the relevant policy and click ‘Properties‘, then navigate to ‘Constraints‘ and select ‘Authentication Methods‘.

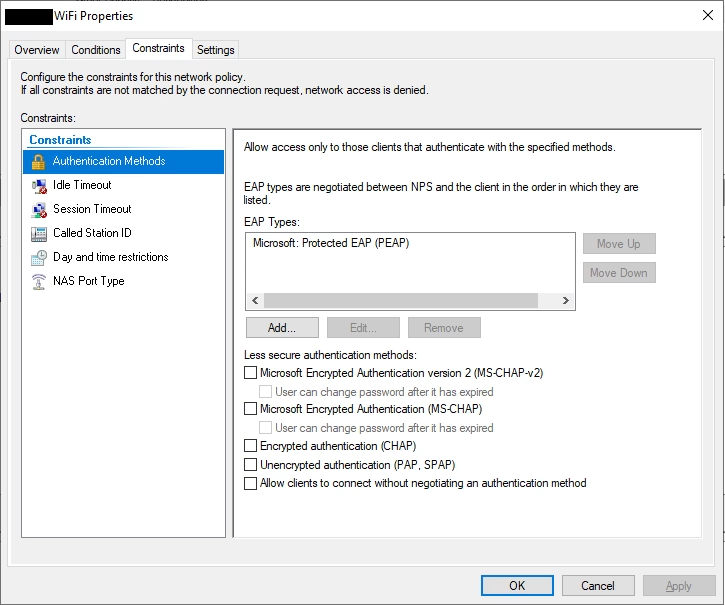
This NPS is already configured to accept ‘EAP-MSCHAP v2‘ connections. We are going to click ‘Add‘ and select ‘Smart Card or other certificate‘

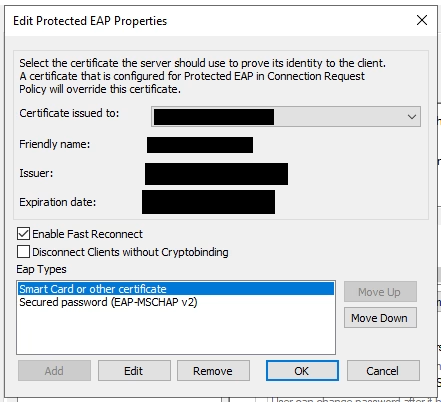
Select the newly added option and click ‘Edit‘, use the drop down menu and select the relevant certificate. This would normally be the same certificate which was selected in the previous screen.

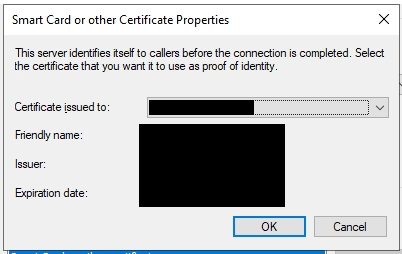
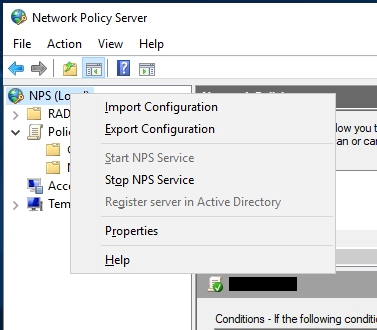
Click ‘OK‘ and ‘Apply‘ on all open windows, you will then need to stop and then start the NPS service for these settings to take effect.

Client Certificates
I am going to focus on ‘Computer authentication‘ which will allow your domain joined devices to automatically connect to the Wi-Fi using a computer certificate.
For this we need our connecting clients to have a computer certificate. As my site already has MECM (SCCM) setup, our clients already auto enrol a certificate that meets the requirements for EAP-TLS. However, if you don’t, you can create a custom certificate template in your Enterprise PKI by duplicating the built in ‘Workstation Authentication‘ template and keeping the default settings. Give the ‘DOMAIN\Domain Computers‘ group ‘Enroll‘ and ‘Autoenroll‘ permission on the certificate, publish the template and setup a group policy to get devices to auto enrol this certificate.
With this done and client certificates present on each device, we can setup the wireless profile for our clients.
Client Configuration
I am going to roll this out with Group Policy, create a new policy and navigate to Computer Configuration > Policies > Windows Settings > Security Settings > Wireless Network (IEEE 802.11) Policies.
Right click and select ‘Create a new Wireless Policy for Windows Vista and Later Releases‘, give the policy a name, click ‘Add‘ and then ‘Infrastructure‘

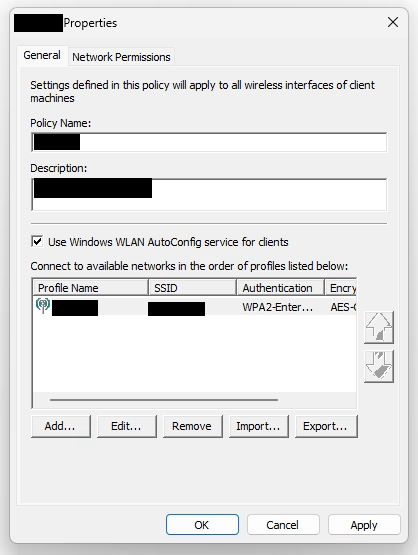
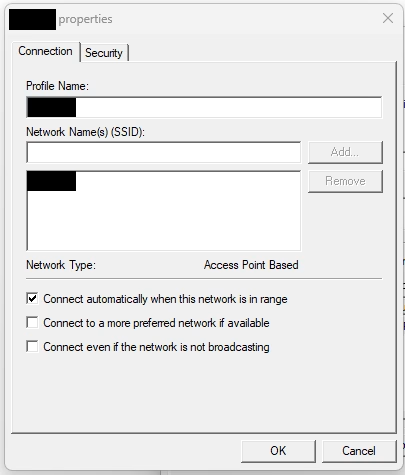
Give your profile a name and add your wireless SSID to the list.

Under the ‘Security‘ tab configure the settings as shown below.

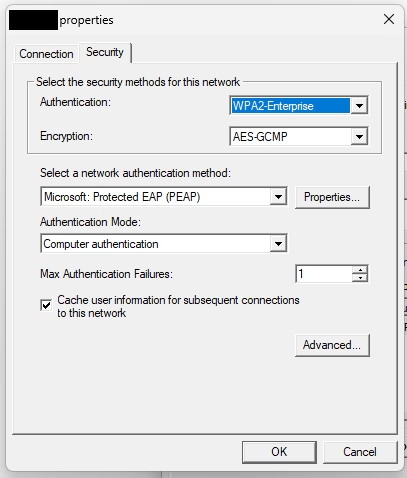
Then click the ‘Properties‘ button.

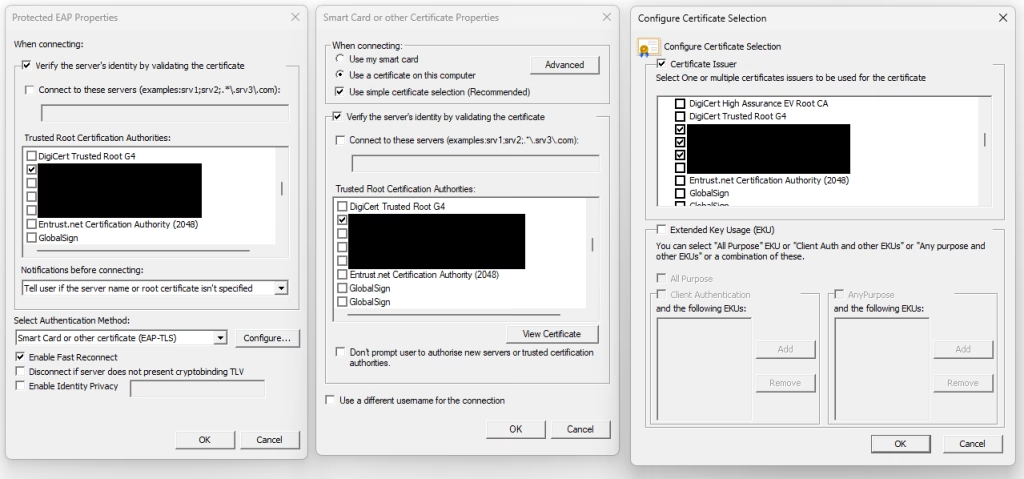
There is a lot to digest here but bear with me, starting from left to right, the windows build on each other. The first windows is the PEAP settings, the ‘outer‘ tunnel that is create to facilitate the authentication. This is present as when I setup the NPS earlier on, I chose PEAP EAP-TLS not straight up EAP-TLS.
Each setting is explained here
For this we need to tick the first box and ideally tick the second box (not shown here) and enter the name that is presented to clients, so for me it’s nps.example.com. For testing purposes you can leave it as shown (unticked) and add this in later after you test it’s all working.
We also need to tick the CA that signed our NPS certificate, for me it’s our Enterprise CA root certificate. This stops clients connecting to a rogue SSID with the same name and a valid third-party certificate.
Now click ‘Configure‘ and you get the middle window, this tells the client again what to expect/trust on the ‘inner‘ authentication (EAP-TLS). You can configure this as shown with the same settings as you did for the outer tunnel.
Lastly click ‘Advanced‘, this last window guides the client on which client certificate it should choose and present for the connection. I say ‘guide’ because there isn’t a way to specifically select a certificate, you can only narrow down eligibility. This is done by ticking the box of the issuer and/or which EKUs are present on the client certificate. Because we are using an Enterprise PKI we can narrow it down by selecting our CA from the certificate issuer list.
Once this is complete click ‘OK‘ on all the windows and deploy this GPO to the relevant devices. Allow the policy to take effect to see the results.

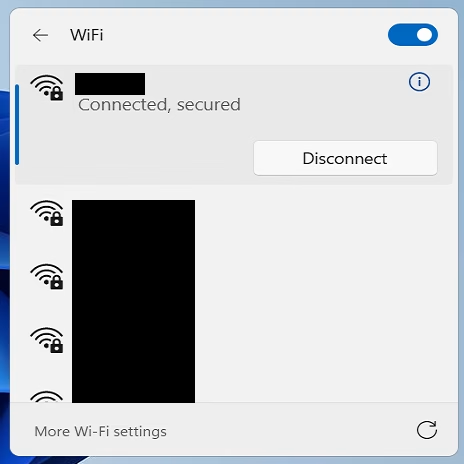
If we run the below we should see our wireless profile has been applied.
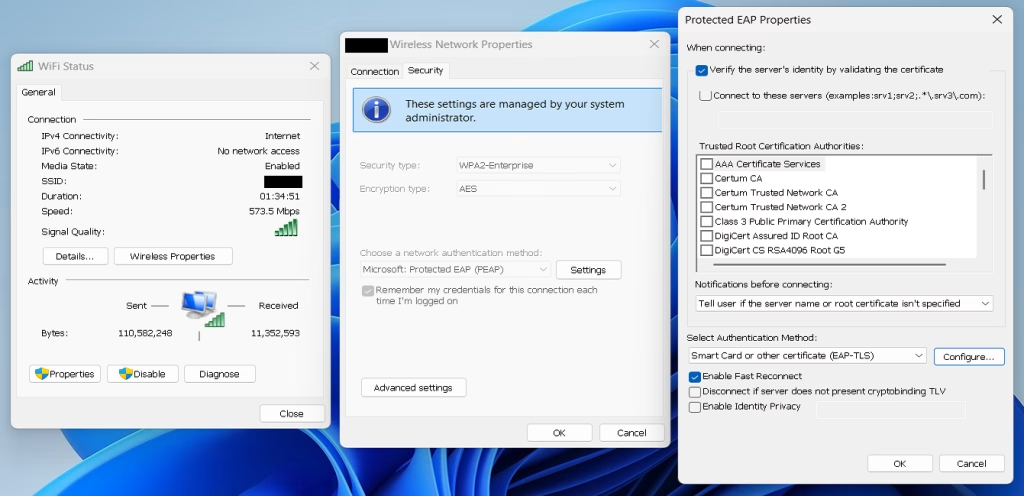
netsh wlan show profileAnd under wireless properties we can see and confirm our settings.

If we check the NPS event logs on the server we should see the device authenticating with ‘Microsoft: Smart Card or other certificate‘

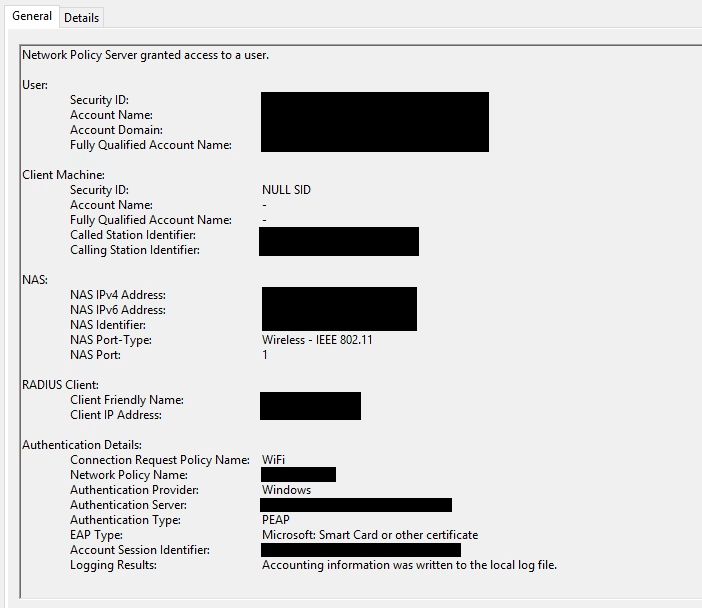
With this all in place and working we can deploy this to all eligible devices. Providing the clients have a valid client certificate signed by our Enterprise PKI they should connect automatically and seamlessly to the Wi-Fi.