
Due to UEFI becoming more common in new machines I decided to start looking at building and capturing system images ready to put on any new machines supporting this feature as well as still support any older BIOS based machines.
The process of building and capturing a reference machine to be used with both BIOS and UEFI machines is the same. One image can be deployed to either as long as they are the same architecture.
So a x64 OS built on a BIOS based machine can be deployed on a x64 UEFI based machine and vice versa. This is also true for x86 machines. You can deploy a 86x machine to a x64 based machine when it is BIOS based. However, you cannot do the same for UEFI. Most machines only support either x64 or x86 UEFI unless they have a built in feature that either lets you switch between the 2 or has the ability to auto detect which OS architecture you are installing. This generally means you don’t want to mix the 2.
I know that Hyper-V generation 2 machines only support UEFI x64 based operating systems.
Start by building your reference machine in Hyper-V. I built up a 64 bit Windows 10 Education machine, installed required software, customised required settings and then captured an image of the machine using the task sequence media from System Center Configuration Manager 2012.
It doesn’t matter if you build your machine on a BIOS or UEFI based machine as they can be deployed to either. I stuck with UEFI as it is supported in generation 2 Hyper-V machines.
Once you have captured an image of your machine it needs to be added to the ‘Operating System Images’ section of the ‘Software Library’ and then distributed to the desired distribution point.
The next stage is to create your task sequence to deploy the operating system. Firstly, navigate to ‘Task Sequences’ under ‘Software Library’ and click ‘Create Task Sequence’. Give the sequence a name and choose a boot image. A x64 boot image is required as you are deploying a x64 windows image:

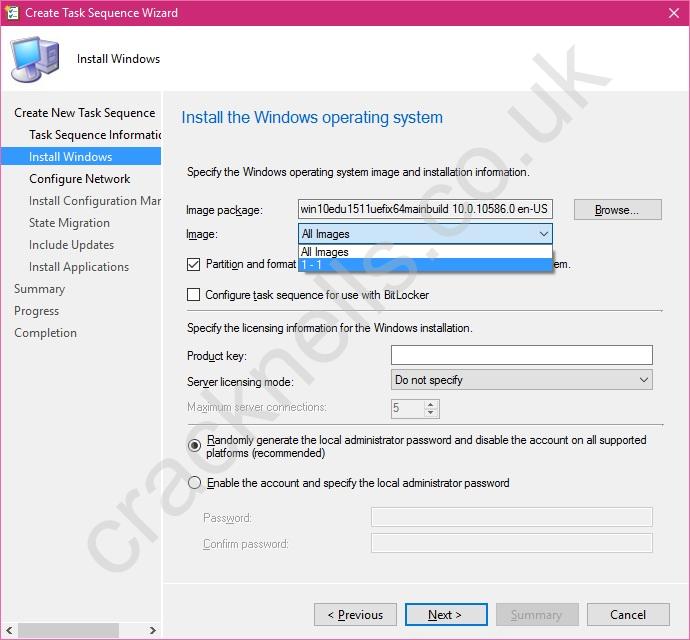
On the next page choose your image you added to the ‘Operating System Images’ section and choose image 1-1. If you have more than one option, select the image part that contains the operating system. Make sure ‘Partition and format the target computer before installing the operating system’ is ticked.
(Note: This is important as if you selected ‘All Image’ you will have problems later on)
You can also specify the licencing information here too. The last option is if you want to set a password for the local administrator account or for it to be disabled and a random password generated:
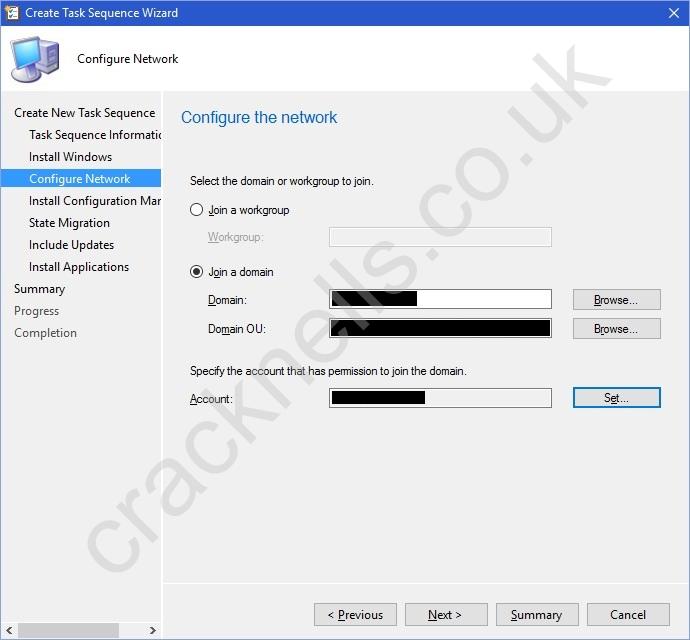
Next choose whether you would like the machine to join a work group or a domain when it is built. If you choose join a domain supply the necessary organisation unit it will be placed in and an admin account with permissions to do this:
(Note: If a computer account has already been created in Active Directory for the machine when it is deployed, this OU will be ignored and that pre-existing computer account will be used.)
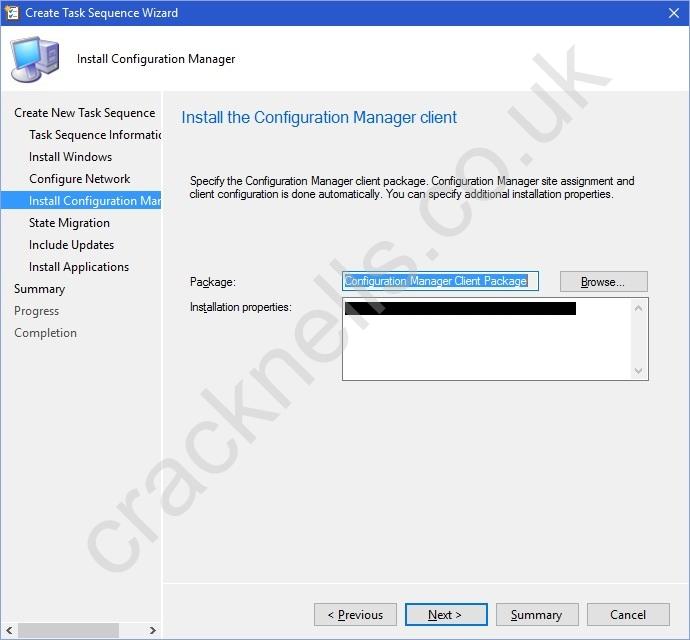
Next either leave the default Configuration Manager client package selected or choose a custom one if required:
Select any user migration settings:

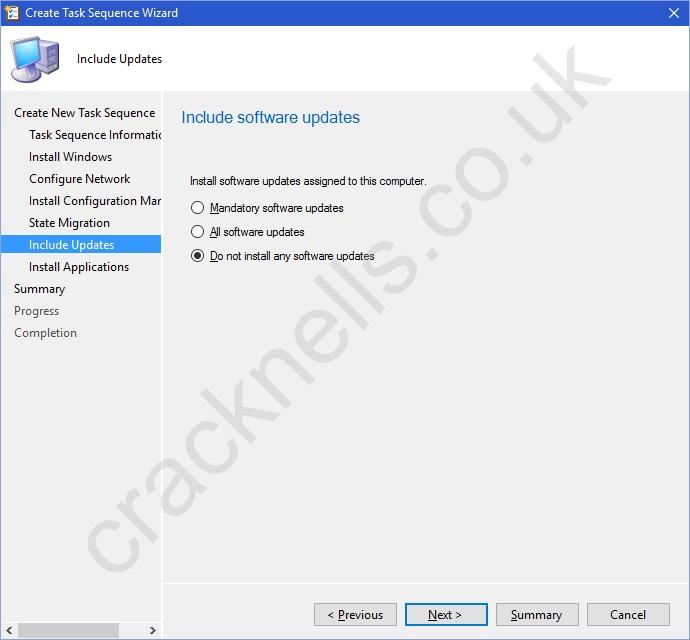
Choose if you want any windows updates to be installed during deployment
Select if you want any additional software installed during the deployment:

Lastly on the summary page click ‘Next’ and then ‘Close’.
You should now see your task sequence listed:
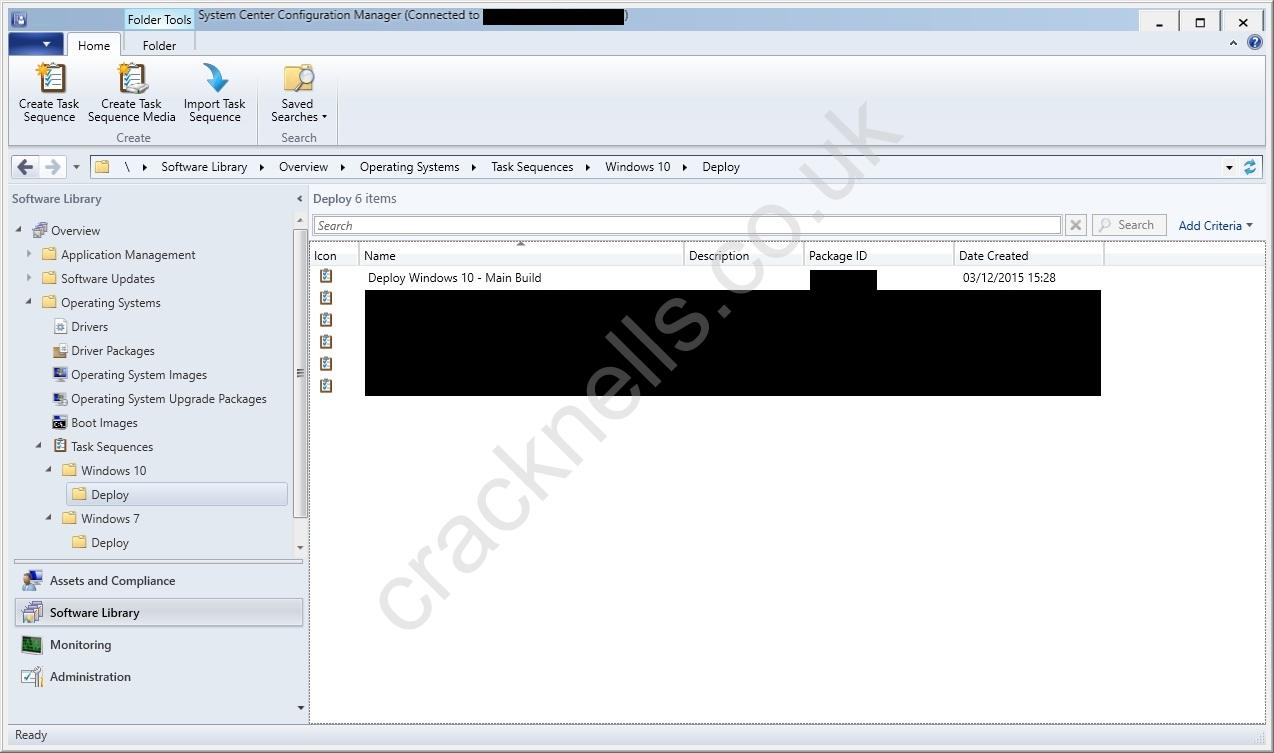
By this point you are almost done. The last bit is just deploying the task sequence to a computer collection. This is done by right clicking the sequence and clicking deploy.
After that choose the computer collection which you would like to deploy it to and click ‘Next’. This will then ask how you want it to be available, leave ‘Propose’ as ‘Available’ and I would suggest choosing ‘Only media and PXE’ as this will ensure that end users can’t accidentally run the sequence:
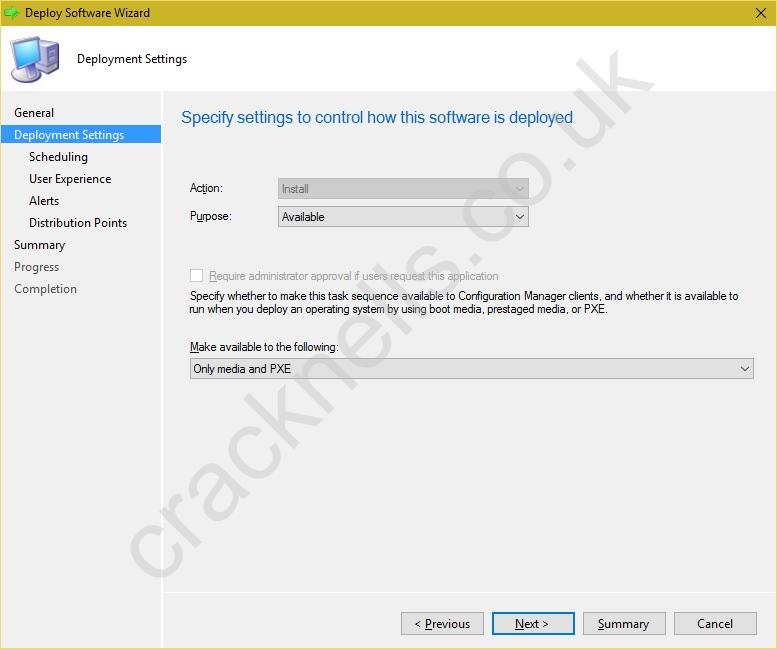
Click ‘Next’ and work your way through the remaining settings. Select any scheduling settings, user experience, alerts and distribution point settings. Finally confirm the settings, click ‘Next’ and close the wizard.
This sequence will now be available to any computers that are a member of the computer collection you just deployed this task sequence to. You can now boot this machine in PXE and start the task sequence to deploy the new operating system image!