


I have been working my way towards a cloud native setup. This meant using Intune and Entra to setup, configure and management client devices. One of the issues I faced was using RADIUS to connect Entra joined devices to Wi-Fi.
TL;DR: Create a machine object in the local AD, request a certificate, export it and distribute this along with the relevant Wi-Fi profile to the Entra devices.
This was an issue for us as (covered in a previous post) our devices all connect to our Wi-Fi via EAP-TLS using a machine certificate issued by our on-premise enterprise CA.
See: Configure EAP-TLS Authentication with NPS to enable PEAP-TLS authentication.
The issue is that a purely Entra-joined device has no computer account in the local AD, Windows NPS requires a local AD account to be able to authenticate the device. As of this post there is no straight forward way to authenticate cloud only devices with Windows NPS.
There are some community made workarounds that leverage spoof devices, however this has been made harder by strong certificate mapping enforcement. The other option is a third-party solution which uses cloud RADIUS and third-party PKIs. This wasn’t something I wanted to jump to overnight and needed something that would work with minimum change (and cost).
At this stage all our current devices are Entra hybrid joined, so I needed something that would work for both on-prem and cloud only devices without reinventing the wheel.
My solution was to ‘anchor’ all Entra-joined devices to a single computer object in the local AD. This worked for us as all I needed was for the devices to be allowed to join the Wi-Fi. Everything else was handled by Entra and Intune.
Client Certificate
For this I firstly created a computer object in AD which would be the ‘anchor’, this is just a regular computer account with a relevant name. This will allow us to generate a certificate to connect Entra joined devices to Wi-Fi.
You next need to setup a certificate template which will allow you to export the certificate with the private key. For this I duplicated the certificate template which I use for onsite/hybrid joined devices to connect to the Wi-Fi. This was originally a duplicate of the built in ‘Computer’ certificate.
Give the template a relevant name and under the ‘Request Handling’ tab you tick the box for ‘Allow private key to be exported’. Under the ‘Security’ tab add the local computer object you added earlier and give it the permission to ‘Read’ and ‘Enroll’
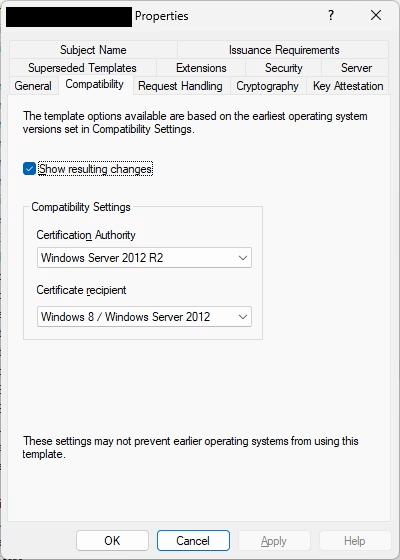
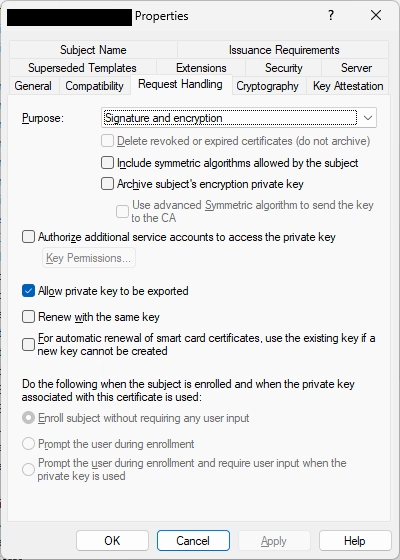
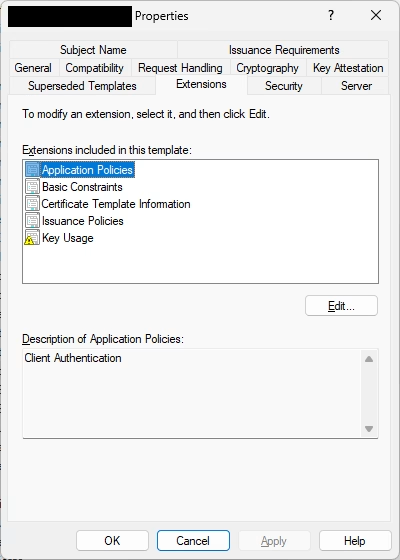
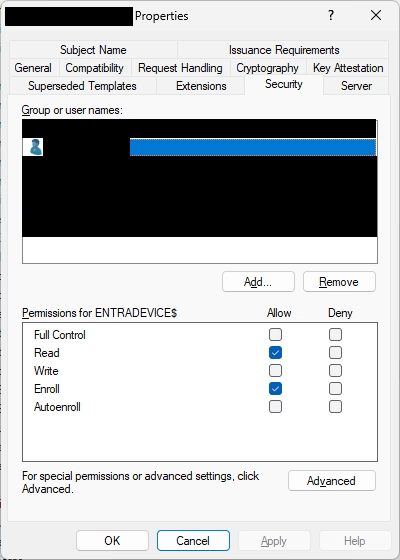
If you are duplicating a certificate you already us for Wi-Fi authentication there shouldn’t be anything more you need to do other than publish the certificate template to your CA.

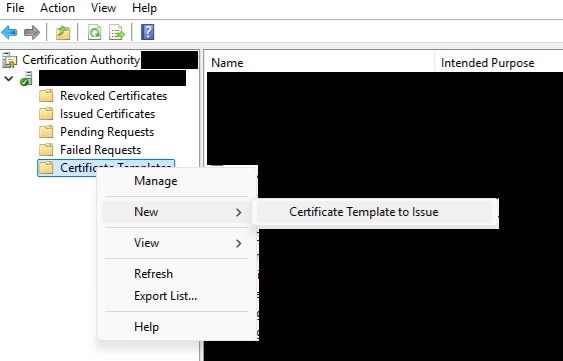
Next you need to build a Windows 11 client, give it the same name as the computer object you created earlier, join it to the domain and request the certificate you published.
I did this by creating the device in MECM and deploying our OSD task sequence to a new VM.
Once the device is ready, login as a user with admin rights and open certlm.msc. In here navigate to the Personal certificate store and request the certificate you created earlier.

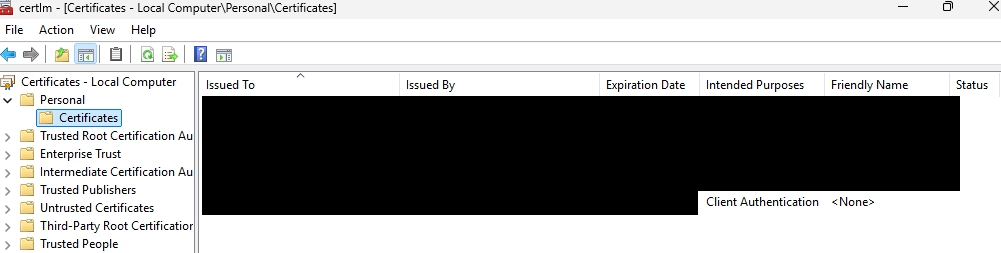
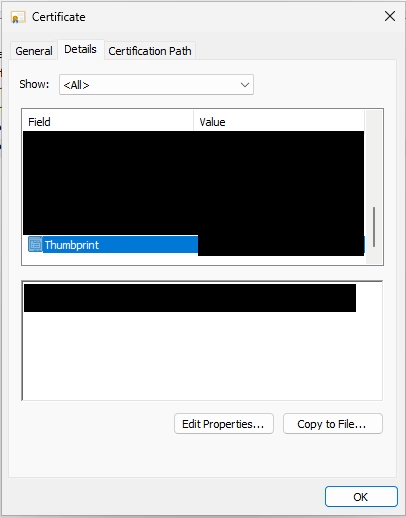
After the certificate is enrolled open it and make a note of the certificate ‘Thumbprint’, you will need this later.

You can then export the certificate along with the private key.
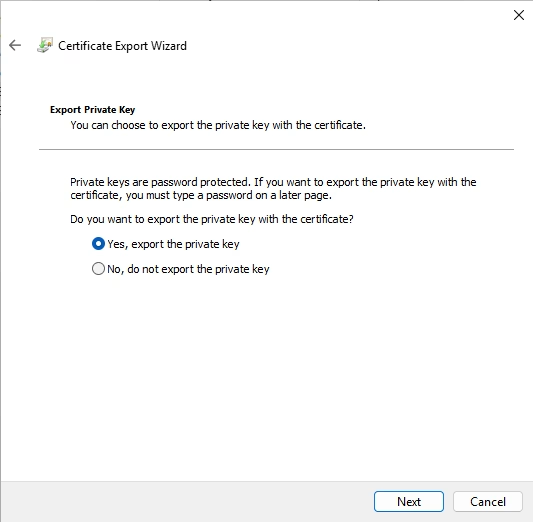
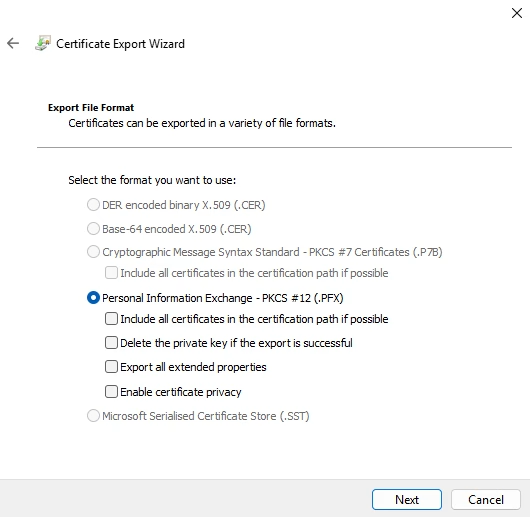
Make sure you make a note of the password you set on the certificate when exporting.

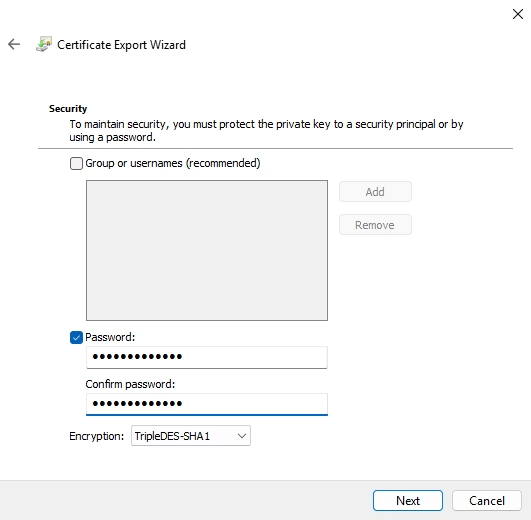
With this done we have our certificate that we are going to import into our Entra joined devices.
Wi-Fi Profile
We also need the Wi-Fi profile for the network we want the devices to connect to. Ours is currently distributed via Group Policy. Because of this we can go in and export the profile directly from the GPO.

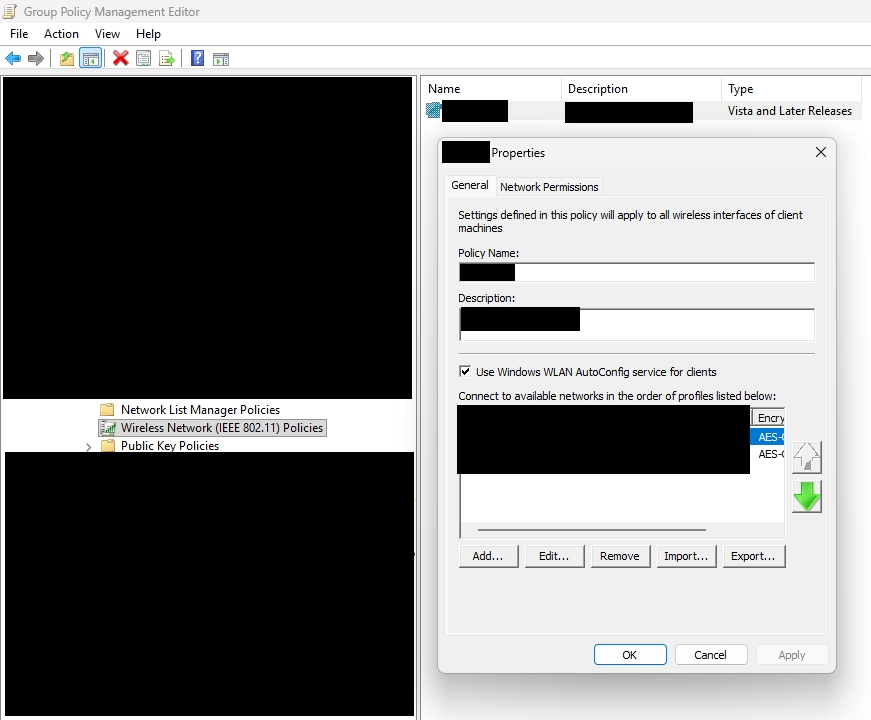
This can also be done directly on a client that has the profile using the following PowerShell command.
netsh wlan export profile name="MyWiFiNetwork" folder=c:\WifiWe can then use Intune to push this profile out to our devices, these next steps are pulled from here.
In Intune create a new policy and select ‘Windows 8.1 and later’ (don’t worry this will work on Windows 11 devices) and profile type select ‘Wi-Fi’.
Give it a name/description and import the XML Wi-Fi profile file you exported earlier.

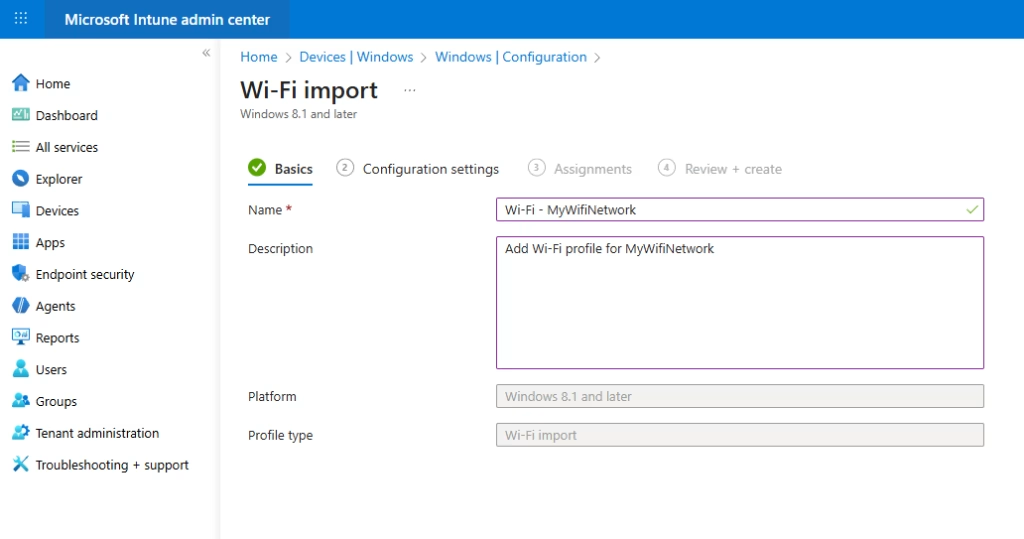

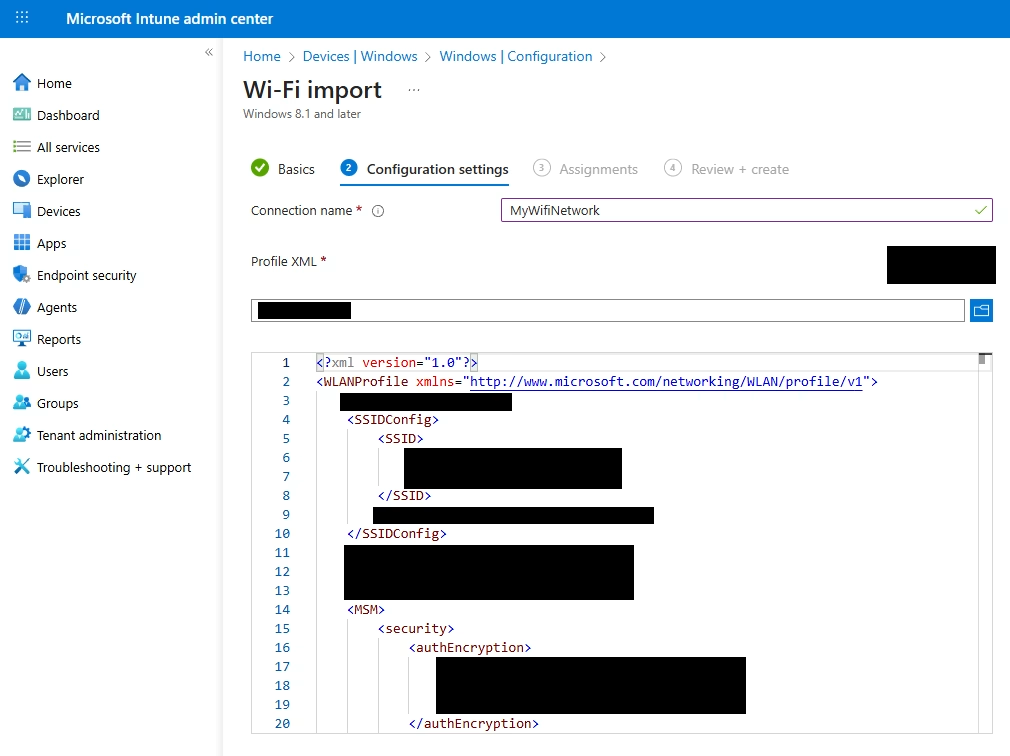
Lately assign the profile to the relevant devices.
Deploy Client Certificate
Our last step is to deploy our certificate with the private key to the same devices. There is no built-in way to do this with any of the Intune policies, so we need to use a bit of PowerShell.
To do this we will deploy it as a Windows app (Win32) and for this you will need the Microsoft Win32 Content Prep Tool.
I won’t go through the prep tool as this is a whole other topic but hopefully you have used this before. If not, there are plenty of guides online.
In your source folder you will need these 4 things:
- Your exported client certificate – mywificert.pfx
- Install script – install_cert.ps1
- Uninstall script – uninstall_cert.ps1
- Detection script – cert_detection.ps1
Certificate
Self-explanatory, this is the certificate you exported with the private key
Install script
This is the script that will import the certificate with the private key. Once imported, it will not allow the private key to be exported from the client. Below is what I used:
#Imports the selected certificate into the local machine personal store

Import-PfxCertificate -FilePath .\mywificert.pfx -Password (ConvertTo-SecureString -String 'CERTPASSWORD' -AsPlainText -Force) -CertStoreLocation Cert:\LocalMachine\My
Uninstall script
This will remove the certificate so that you can uninstall the Win32 app in the future (you never know when you might need to do this)
You need to update the below with the thumbprint of your certificate you noted earlier.
#Delete referenced certificate

Get-ChildItem Cert:\LocalMachine\My\E661583E8FABEF4C0BEF694CBC41C28FB81CD87 | Remove-ItemDetection script
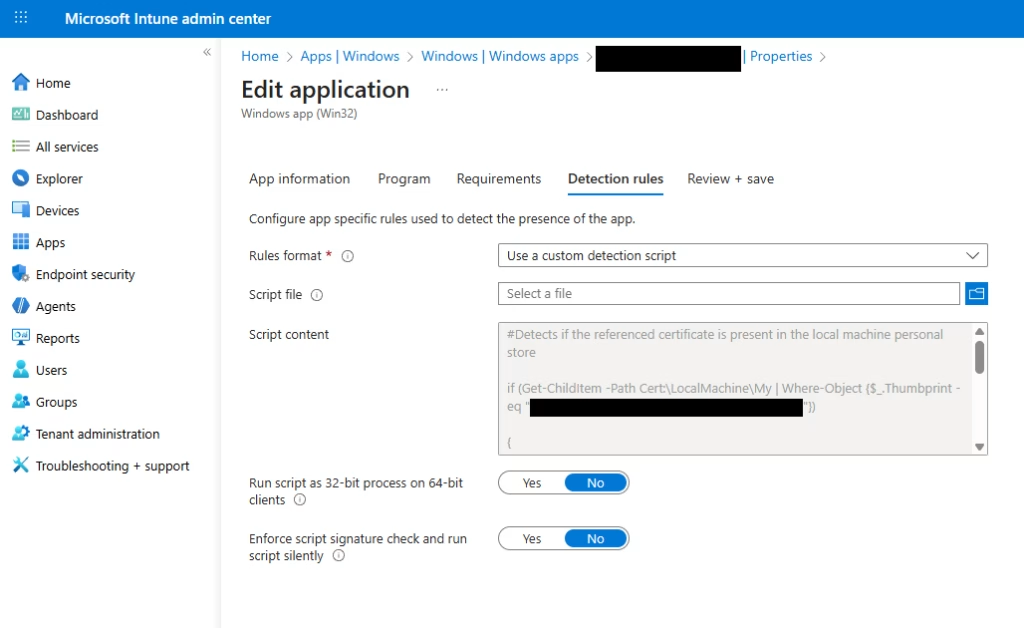
This will run to check whether the deployment of the certificate was successful.
Again, you need to update the below with the thumbprint of your certificate you noted earlier.
#Detects if the referenced certificate is present in the local machine personal store

if (Get-ChildItem -Path Cert:\LocalMachine\My | Where-Object {$_.Thumbprint -eq " E661583E8FABEF4C0BEF694CBC41C28FB81CD87"})

{

Write-Host "Installed"
Exit 0

}

else

{

Write-Host "Not Installed"
Exit 1603

}With these all in your source folder you can run the prep tool to package it all up.
.\IntuneWinAppUtil.exe -c C:\Intune\App\ -s C:\Intune\App\install_cert.ps1 -o C:\Intune\Output\In Intune you can navigate to Apps > Windows click ‘Create’, select ‘Windows app (Win32)‘ and select your newly packaged app.
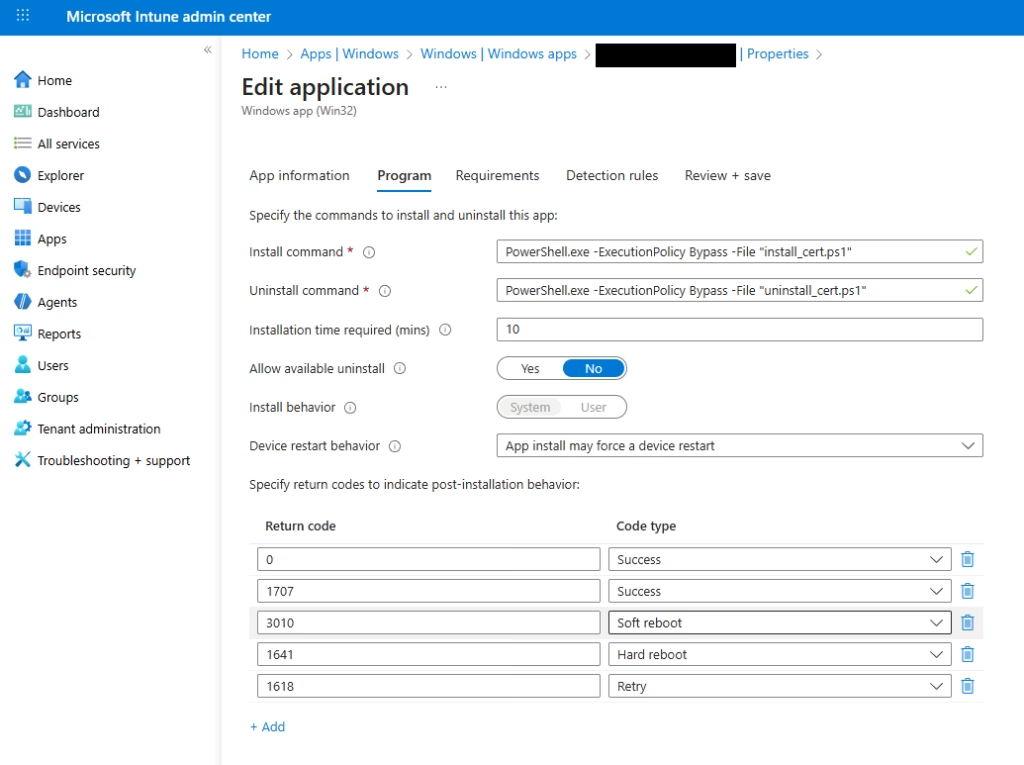
Give it a relevant name, fill out the relevant app information, click ‘Next’ and move onto the ‘Program’ tab.
For the Install command
PowerShell.exe -ExecutionPolicy Bypass -File "install_cert.ps1"And for the Uninstall command
PowerShell.exe -ExecutionPolicy Bypass -File "uninstall_cert.ps1"I set Allow available uninstall to ‘No‘ and set Install behaviour to System

Once you get to the detection rules tab select ‘Use a custom detection script’ and select the script you made earlier.

Finally, deploy the application to the relevant devices.
With this done, wait until one of your targeted devices finish installing the new app and applying policies.
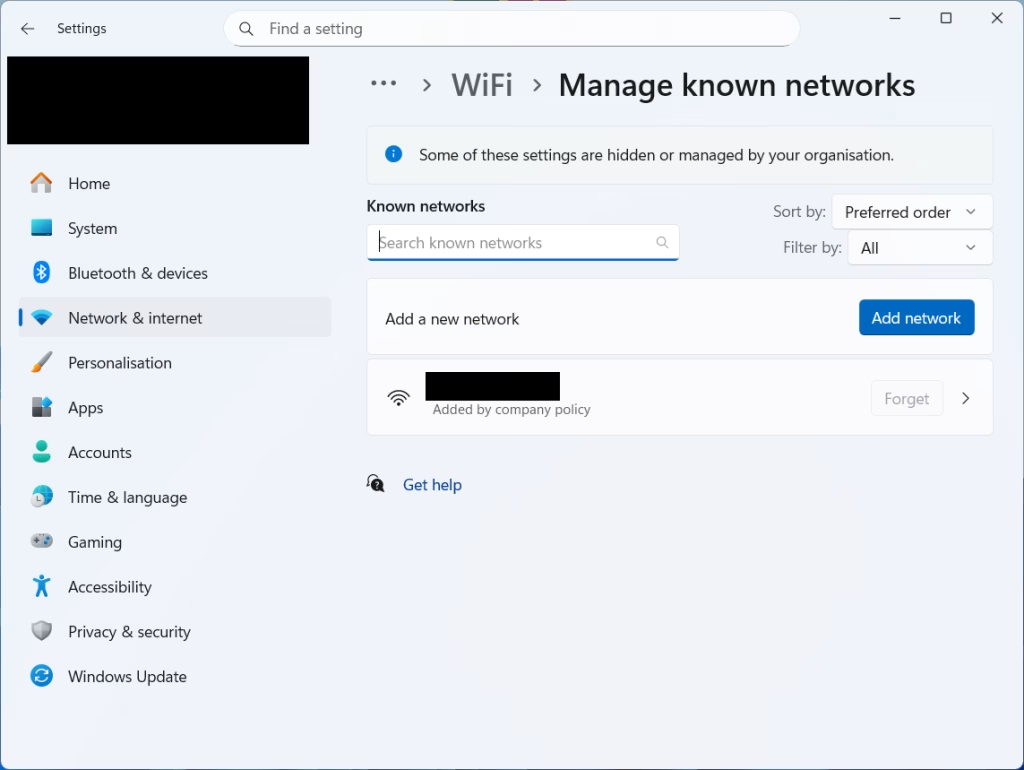
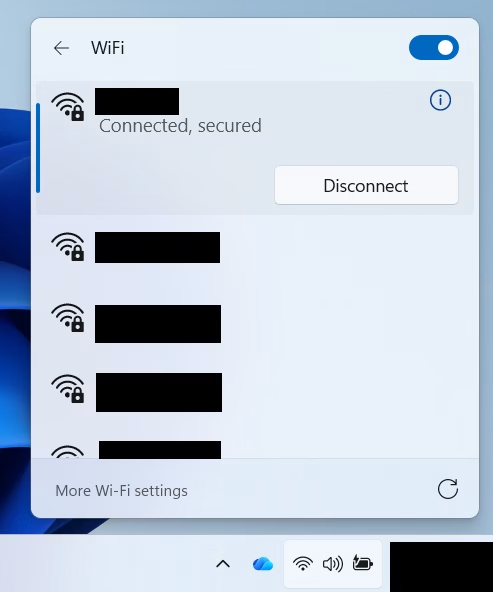
You can check the certificate has been deployed using certlm.msc and under setting you should also see your Wi-Fi profile has been applied and hopefully connected! Connecting our Entra joined devices to Wi-Fi.


Conclusion
For me this was a simple solution to a potentially complex issue. Other workarounds seemed complicated and because of this more can go wrong. When dealing with something as critical as Wi-Fi/internet access, this isn’t something you want to have issues with.