
Over the last year we have been implementing more and more Ubiquiti hardware, mostly their UniFi range. As for the price you get a lot of bang for your $! (Or £ in this case)
One of the big selling points for me is their software controller that is used to adopt and configure devices. It is also completely free unlike a lot of other providers who charge extra for monitoring/management software for their devices. It can also be setup to allow remote access via a web portal to allow management of your network from anywhere.
This software is available for most platforms and is also available as a standalone piece of hardware called a Cloud Key which runs a local instance of the controller. This eliminates the need to install and run the controller on a server or workstation.
Anyway back to the main topic, once you have installed and setup the controller it is accessible via a secure webpage allowing you to adopt, configure and monitor UniFi hardware connected or making up your network.
The problem is that the UniFi controller will by default use its own self-signed certificate to secure the connection which causes web browsers to flash up an insure connection:

To prevent this we need to add our own custom certificate to the controller. This should be achievable using this help article:
https://help.ubnt.com/hc/en-us/articles/212500127-UniFi-SSL-Certificate-Error
However for the life of me I could not get this to work using the instructions provided! This wasn’t helped by the fact I was trying to sign the new certificate using our internal Windows certification authority.
No matter what I tried I just got this error repeatedly, slowly driving me insane:

I gave up with this article and managed to work it out myself using some help from this post:
It turns out it is much easier to just replace the certificate store which holds the self-signed certificate that the UniFi controller uses with a new one. In this new file we will store the certificate we want the controller to use.
First off as I stated before I am using a Windows Certification Authority and already have some templates setup to create custom certificates for various internal web accessible network hardware.
The
certificate template I used allows me to submit custom information on each
request. Meaning I don’t have to create a request at the device in questions,
then submit it to the CA and then submit the response back. I just fill out the
subject and any subject alternative names and generate the certificate on my machine.
I then export it with the private key and import it to the device if possible.
To create this new keystore with our custom certificate we first need to load up the Certificates snap-in:
Run > certlm.msc > OK
Or
MMC.exe go to ‘File > Add/Remove Snap-in’ select ‘Certificates’ select ‘Computer account’ ‘Local computer’ and then ‘Finish’
In ‘Personal > Certificates’ right click and select ‘Request New Certificate’ and click ‘Next’ on the screen that pops up.
Select the certificate template you would like to use, for me it was a custom template I had setup. And click the link next to the yellow triangle to supply the information required to generate the certificate:

Under the ‘Subject’ tab complete the ‘Subject name:’ and ‘Alternative name:’ as required:

Subject
CN = <FQDN> e.g. unifi.mydomain.com
OU = <organisation>
O = <organisation>
L = <town>
S = <county>
C = <country>
Alternative names:
DNS = <FQDN> e.g. unifi.mydomain.com
DNS = <ipaddress> e.g. 192.168.0.10
IP address (v4) = <ipaddress> e.g. 192.168.0.10
Adding the alternative names in allows the certificate to be valid for more than one address. So adding the IP address in means the certificate will still be valid if accessing the controller via its IP address rather than a host name.
The reason I add the IP in both ‘DNS’ and ‘IP address (v4)’ is because some browsers won’t see the certificate as valid if the IP address is stored under the ‘IP address (v4)’ heading.
Click ‘OK’ and click ‘Enroll’:

You will now have your custom signed certificate with its private key stored on your machine. Right click the certificate ‘All Tasks > Export’:

Click ‘Next’ and select ‘Yes, export the private key’:

Untick all and only tick ‘Include all certificates in the cortication path if possible’, click ‘Next’:

Tick ‘Password’ and create a password

Give the certificate a name and save it somewhere relevant:

Click ‘Finish’

Next we need to download a piece of software that we can use to create our new certificate store.
Download, install and run KeyStore Explorer and click ‘Create a new KeyStore’:

Select ‘JKS’ and click ‘OK’:

Open the ‘Tools’ tab and click ‘Import Key Pair’:

Select ‘PKCS #12’ and click ‘OK’:

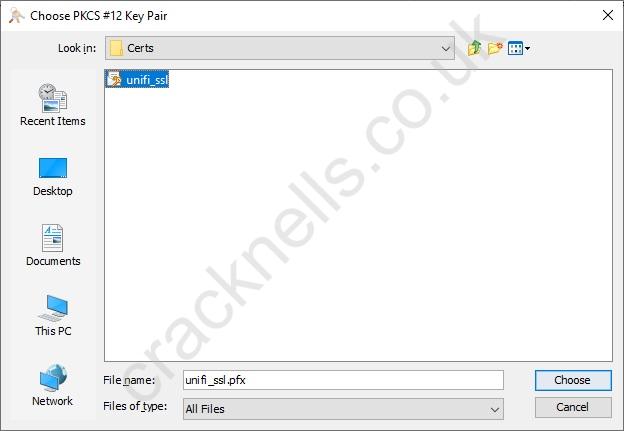
Click ‘Browse’:

Navigate to where you saved your certificate earlier:
Enter the password you created when exporting your certificate and click ‘Import’:

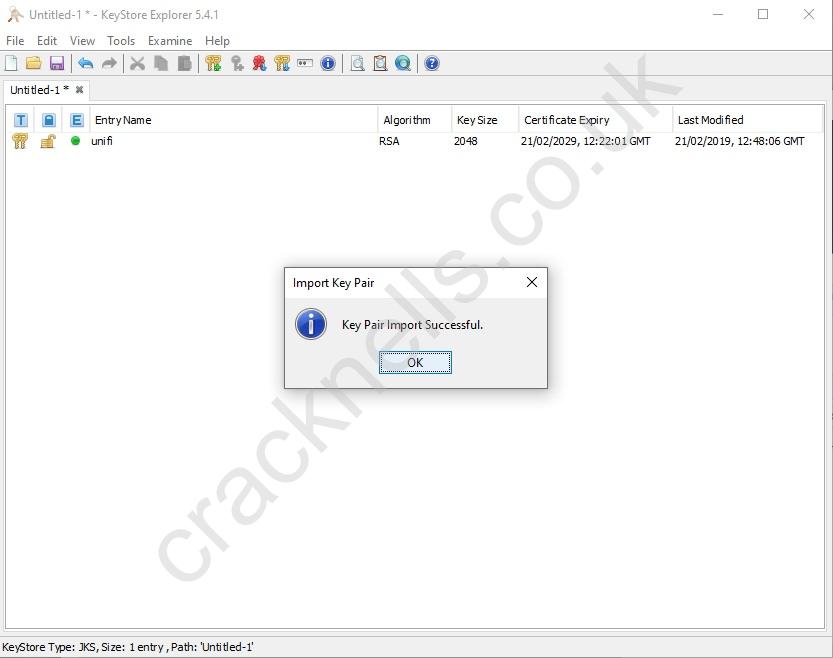
Enter the alias as ‘unifi’ and click ‘OK’:

When asked to create a new password enter ‘aircontrolenterprise’:
This is important as this is the password used to access the keystore and certificate by the UniFi Controller. If the password is different the controller will just overwrite the new keystore.

Click ‘OK’, you will now see that your new key has been imported:
Open the ‘File’ tab and click ‘Save As’

Enter the same password as before ‘aircontrolenterprise’ and click ‘OK’

Name the file as ‘keystore’ and save it somewhere relevant:
Again the name is important.

Navigate to your UniFi Controller installation. On a Windows machine this will be located in the user profile of the user who installed it unless it was moved afterwards.
The default installation directory is:
C:\Users\%USERNAME%\Ubiquiti UniFi
Now navigate to the ‘data’ folder you will find the current ‘keystore’ file:

It is worth taking a backup of this keystore file. However the controller will just recreate it if there is an issue.
Copy the new keystore file we just created into this directory and overwrite the old one.
Now restart the Unifi controller. If you have it installed as a service, open ‘services.msc’ find the service, right click and ‘Restart’

Now open a browser and navigate to your controller. This will be the host name or IP address depending how you set it up
https://unifi.mydomain.com:8443
You will now see that it will no longer flash up as insecure and will be valid:

Even if you access the controller via its IP address:

And if you view the certificate you can confirm it is the correct one:

All done! This shouldn’t need changing until your certificate expires. It is a good idea to keep a copy of your new keystore file backed up somewhere just in case you ever need to reinstall or recover your controller.