When first setting up Microsoft Exchange 2013 the default email address for any user in the organisation will normally be the same as the internal domain name e.g. example.info so a user’s email address would look like this: john.smith@example.info. However this may not be the same as your external domain or down the line you may end up purchasing a new domain name. So your external presents maybe in the form of a website which might be www.example.co.uk but your internal domain name is still example.info. Internally you would still be sending emails to user@example.info but from external sources you would want emails coming to user@example.co.uk.
This is a quick tutorial on how to enable exchange 2013 to accept mail for multiple domain names.
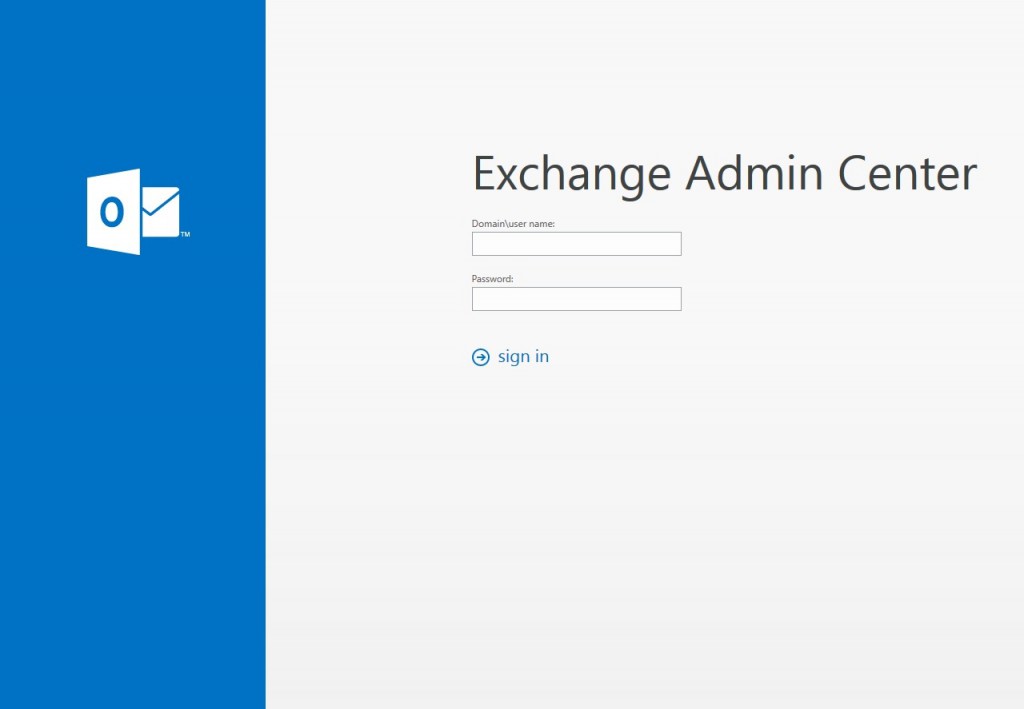
Firstly you need to login to the ‘Exchange Admin Center’ of the Exchange server with an account which has Exchange Organization Management and Server Management permissions.
 After logging in to the administration centre you need to navigate to mail flow > accepted domains and then click the Add button to add a new domain. Enter a name for the entry and then enter the domain you would like the exchange server to accept mail for. Next select Authoritative Domain. After you have filled this in click Save.
Note: At this stage you can set the accepted domain as a wildcard so that the exchange server will accept mail for any subdomain of a domain. For example setting *.example.co.uk as the accepted domain would accept mail for any subdomain of example.co.uk. Such as company.example.co.uk.
 At the moment the exchange server accepts mail for this new domain but has no recipients to deliver it to. The next stage is to change the email address policy so that each user has this new domain set as their default email address.
Navigate to mail flow > email address policy and click the Add button to create a new policy. Give this policy a name and then click the + sign to add a new address format. In the drop down menu select the newly added accepted domain and then specify an email address format e.g. alias@example.co.uk. Also tick the box which says ‘Make this format the reply email address‘.
 This will mean by default any email sent from a user will be sent using the new email address format. Click Save.
At the bottom select All recipient types and then click Save.
Note: At this point if you didn’t want all users in the organisation to be assigned this new email address format you can select a different option and also set up rules to make it only apply to certain users.
 Next click Save and a message will appear which will say the email address policy won’t be applied until you update it. Once it has been created select it and then in the details pane click Apply. This will then apply the policy to all the users in your exchange organisation or to the ones you specified using the rules.
Now whenever the selected users create or reply to an email it will be sent using the new address format with the new domain name.

